
What if the product is great but the photo is so-so? The suit is shot on the floor, the lighting is uneven, the background doesn't work for a marketplace. Showing that to a customer means losing sales. The good news: in AliveColors you can fix it in a couple of minutes - with the help of Cloud Generation and img2img mode.
Plus, you don't need a powerful computer - everything runs on a remote server. All you need is two photos and the right prompt.
Let’s walk through a real example. We have a burgundy women’s suit: a blazer, a skirt, and a white blouse with a bow. It’s lying on the floor - this will be our product. And we also have a photo of a girl in a similar suit in a studio - this will be our reference for pose and mood. The task: “dress” the model in the suit while keeping the exact color, cut, and fabric.
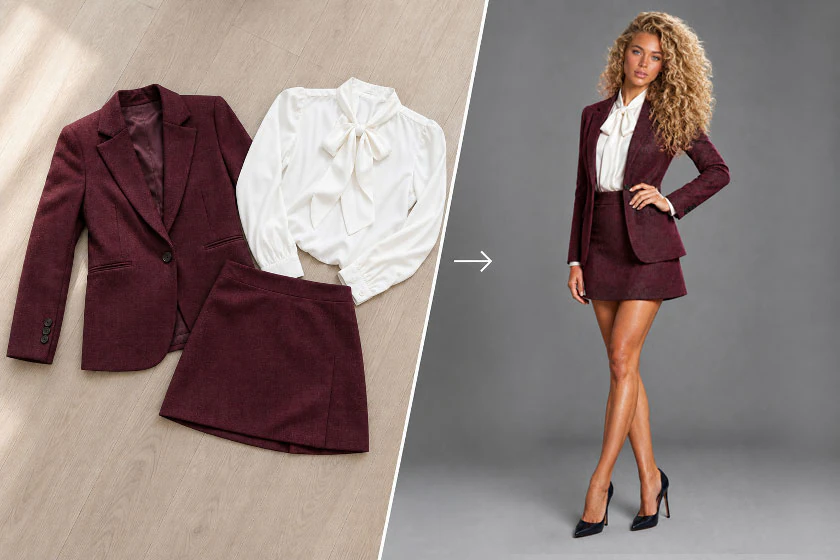 Creating a product card
What you’ll need
- Graphic editor AliveColors version 12 or newer.
- A stable internet connection.
- An account and API key on the KIE.AI platform - that’s what powers cloud generation.
- A product photo. In our case - a burgundy suit on the floor. The more even the lighting, the better the result.
- A reference photo. A shot of a girl in a similar suit - in the pose and style you want to replicate.
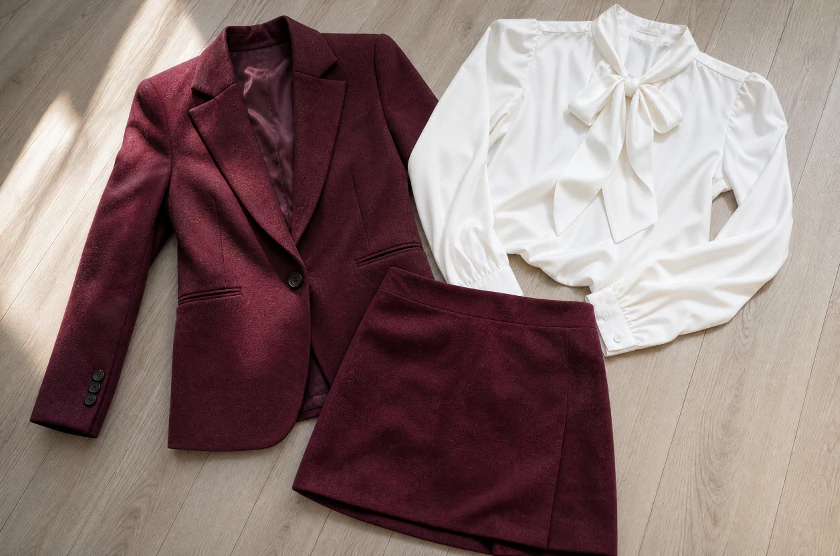 Product photo
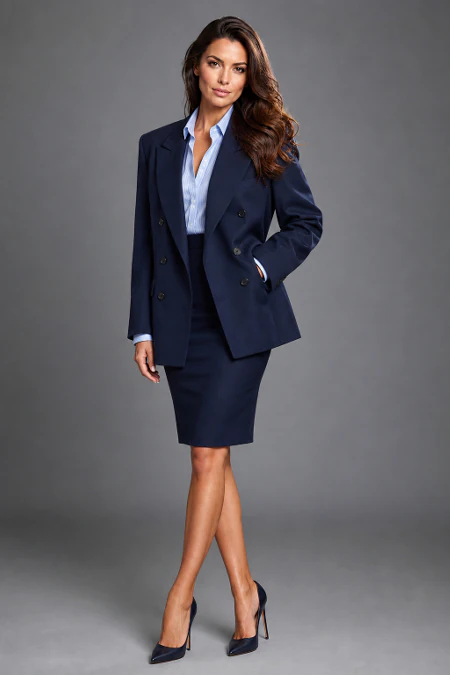 Reference
Step 1. Get an API key
Cloud generation in AliveColors works through a third-party service, KIE.AI. AKVIS - the developer of AliveColors - does not process payments or store your data. It simply redirects you to the partner.
- Open AliveColors and go to AI → Cloud Generation.
- Click the Web Account button - the KIE.AI website will open.
- Sign up or log in.
- Top up your balance - generation uses paid models.
- Copy your API key from your account dashboard.
- Return to AliveColors, paste the key into the Server Options field, and click Apply API Key.
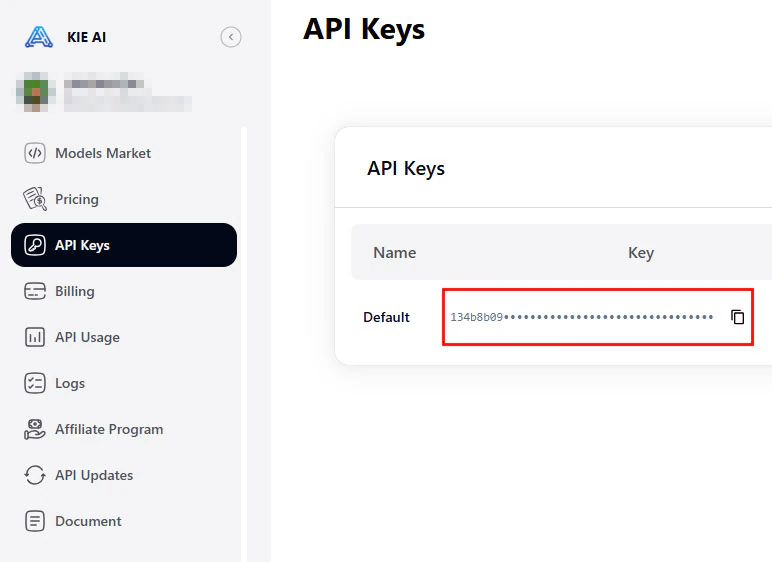 Server settings
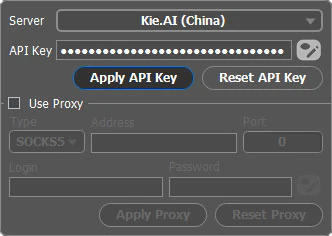 Server settings
Step 2. Set up cloud generation
The key is saved - now let’s fill in the parameters in the dialog box.
- Model. For product cards, GPT Image 2 (realistic, like a studio shot) and Nano Banana (smoother, more “polished” look) work well. Let’s go with GPT Image 2.
- Mode. Switch to Image-to-Image (img2img) - this is the key step; without it, you can’t work from a photo reference.
- Upload reference. Click Load: first the suit on the floor, then the girl’s photo. The order matters - we’ll explain why below.
- Format and resolution. For marketplaces, choose vertical 3:4 and resolution 1K.
- Prompt - a text description of what you want to get. We’ll cover it separately.
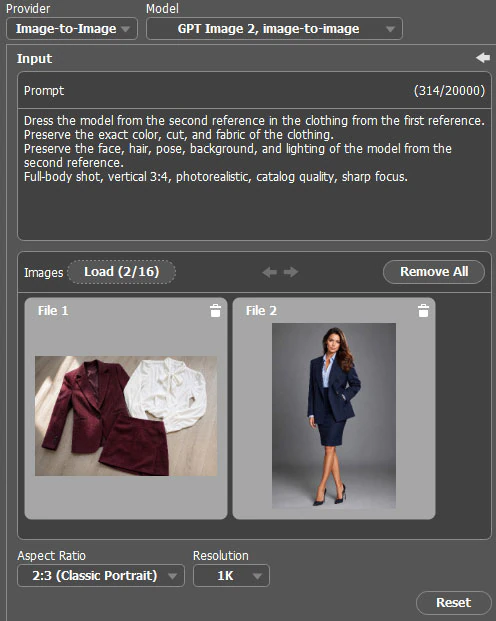 Setting up cloud generation
Step 3. Write the prompt
The prompt is your steering wheel. In img2img mode, the model already sees your images, so the prompt’s job is to clearly assign roles:
- From the first photo (product) - color, cut, fabric, the blouse with the bow. Everything that makes the suit recognizable.
- From the second photo (model) - pose, style, lighting, background, and overall mood.
Here’s an example of a detailed prompt for our case:
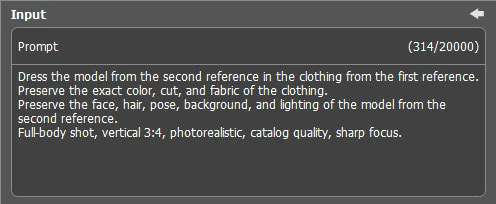 Example of a ready-made prompt
Here’s the same prompt as text - copy it and adapt it to your product:
Don’t want to write a prompt by hand? Here’s a simple trick. Upload both photos to any AI that can recognize images and ask: “Describe the first image as a product (color, cut, fabric), and the second as a reference for pose and style. Write a prompt for img2img generation of a product card.” Copy the result straight into the prompt field in AliveColors.
Step 4. Run generation and pick the best result
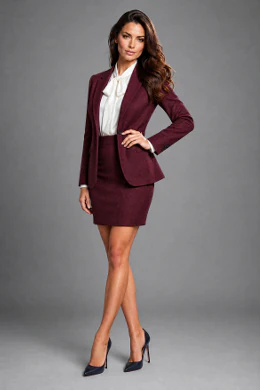
Click Start. The request goes to the cloud server, and in a couple of minutes you’ll get a result.
An important point - the order of references. First comes the product (suit on the floor), second - the model reference. This is reinforced by the prompt, but the sequence of images itself helps the neural network avoid confusion about what to take from where.
Things to pay attention to:
- Did the suit keep its key features? Burgundy color, blazer cut, skirt length, white blouse with a bow.
- Do the pose and style match the reference?
- Is the background clean - no spots, extra shadows, or foreign objects?
Didn't like any of them? No worries - run the generation again, the result will be different. Or tweak the prompt a little.
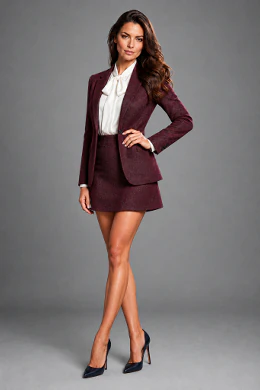
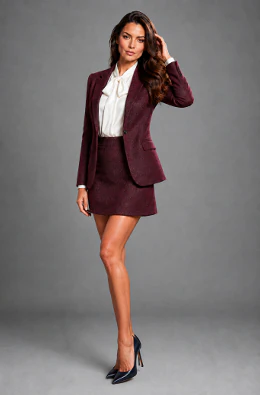
Useful tips
- Everything starts with the source. The sharper your photo of the suit on the floor, the more accurately the model will capture the color and fabric texture.
- Try different models. GPT Image 2 gives realism, Nano Banana - a smoother, more “retouched” look. For one product, one will win; for another, the other.
- It’s better to generate 3–5 variants and pick one than to spend a long time fine-tuning a single request.
- Save successful prompts as templates. For a line of similar products, you only need to change the product name.
- Use more references to customize the result more precisely - for example, by choosing a different female model.
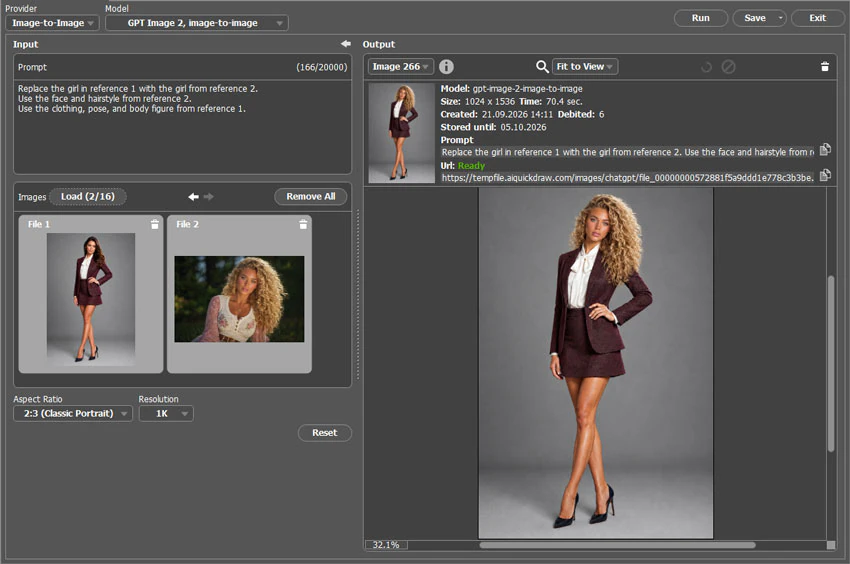 Another female model
Step 5. Post-processing in AliveColors
Generation is only half the battle. To turn the image into a real product card, you need to polish it: crop to the exact marketplace size, add text, and adjust the color.
- Crop. Trim the image to the platform’s requirements. Use the Crop tool
 on the toolbar.
 - Text. Add the product name, brand, size, or a badge like “Hot” / “New” with the Text tool
 . Choose a font that matches your brand style, place the text in an empty area so it doesn’t cover the model or the clothing. Don’t overdo it: 1–2 short lines are more readable than long ones.
 - Color correction. Bring the image in line with your brand palette: brightness, contrast, saturation - in the Image → Adjustment menu. If needed, add a slight sharpness via Effects → Sharpness.
- Export. Save the result as JPEG with 90–95% quality - the optimal balance between file size and image quality.
That’s it. Now you know how to turn an ordinary product photo into a ready-to-use marketplace card. Create and share your results!