Using the extensive capabilities of AliveColors, you can create high-quality digital images from scratch. This tutorial shows how to create a realistic water drop using vector shapes.
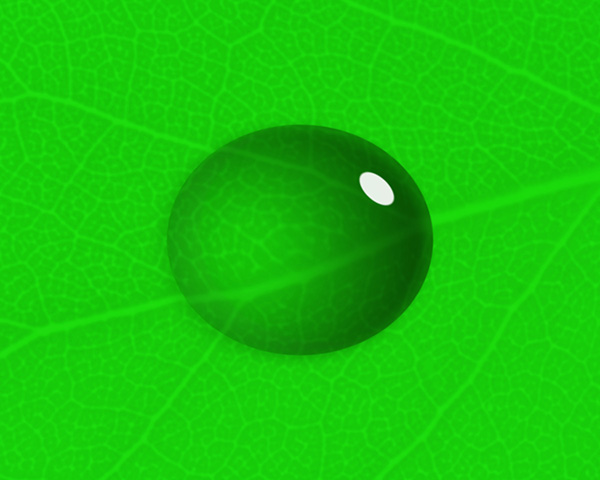 Result
Open the AliveColors image editor and create a new document (File → New... or Ctrl+N). Set the background color to green.
Select the Ellipse tool  in the toolbar and draw an oval. Create two copies of the layer with an oval and rename all three layers: the top one is “highlight”, the middle one is “blob”, and the bottom one is “shadow”.
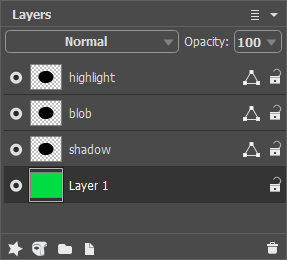 Layers Panel
Select an oval using the Color Range option, switch to the Selections panel and lock it by clicking  . Reset the selection using the Ctrl+D hotkey - we will need it later.
Select the “blob” layer and hide the other two layers. Click  to open the settings panel of the vector layer. In the Fill Shape tab, select the gradient fill type
  .
.
To edit the fill, select the Gradient Fill tool  , change the gradient type to radial
  and click the Reverse button
  . Right-click the white dot to open the settings menu. Change the Color to black and Opacity to 0. Adjust the position of the gradient as follows:
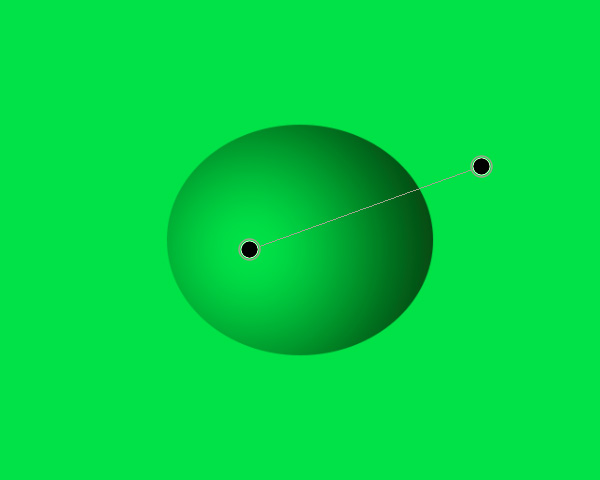 Adding Gradient
In the Layers panel, right-click the layer to open the context menu and select the Rasterize Layer command.
Apply the Gaussian Blur effect. Set the Radius parameter to 1.0.
Reduce the layer Opacity to 60%.
Click  in the Layers panel to open the list of layer effects and select the Outer Shadow. Adjust the effect settings as follows:
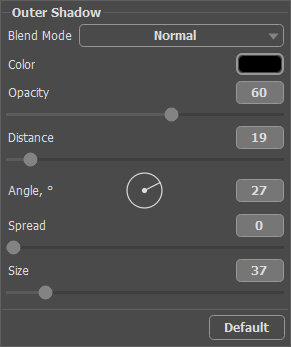 Outer Shadow Settings
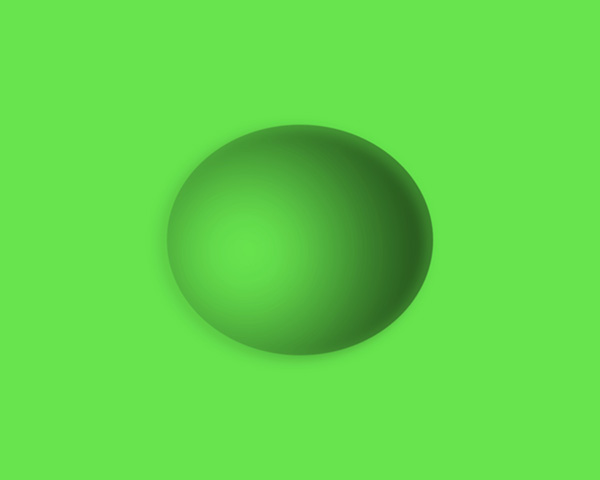 Creating a Drop
Switch to the "highlight" layer and turn on its visibility. Click  to open the settings of the vector layer and change the fill color to white. Rasterize the layer, and then use the Free Transform... tool from the Edit menu to reduce the size of the oval.
Apply the Gaussian Blur effect. Set the Radius parameter to 1.5.
 Highlight Added
Select the "shadow" layer and make it visible. Click  to open the settings of the vector layer and change the fill color to gray: RGB (110,110,110). In the toolbar, select the Ellipse tool
  and change the tool mode to Subtract from Shape Area
  . Draw a new oval as follows:
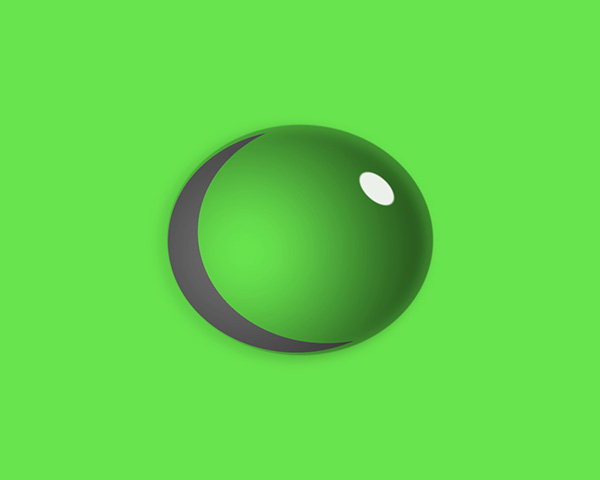 Shadow Shape
Rasterize the "shadow" layer. Use the Move tool  to reduce the layer and move it to the right by a few pixels. Set the layer Opacity to 5%.
Apply the Gaussian Blur effect. Set the Radius parameter to 2.5.
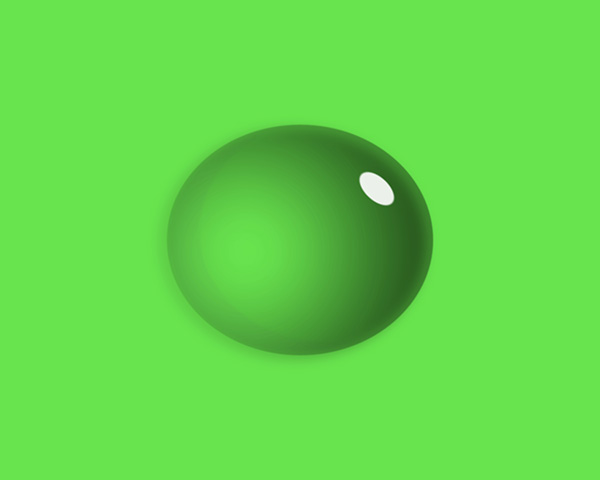 Shadow Added
When desired, you can replace the monochrome background layer with a texture layer (for example, a leaf texture).
Go to the Selections panel and enable the selection you created earlier. Apply the Pinch effect (Effects → Distortion), choose the Spherical compression and set the Strength to 9.0.
Deselect (Ctrl+D) and here’s the result:
 Result
