AliveColors provides many possibilities for image stylization. This example shows how to process different parts of a photo with different filters or adjustments using layer masks.


Open the original photo in the AliveColors graphics editor.
 Original Image
Convert the photo into a striking black and white image. To do this, create a new Color Lookup (3D LUT) adjustment layer above the background layer by clicking the  button in the Layers panel and selecting Adjustment Layer -> Color Lookup (3D LUT) from the list.
Select Black And White 4.cube from the drop-down list in the settings panel.
 Black And White Photo
Switch to background layer.
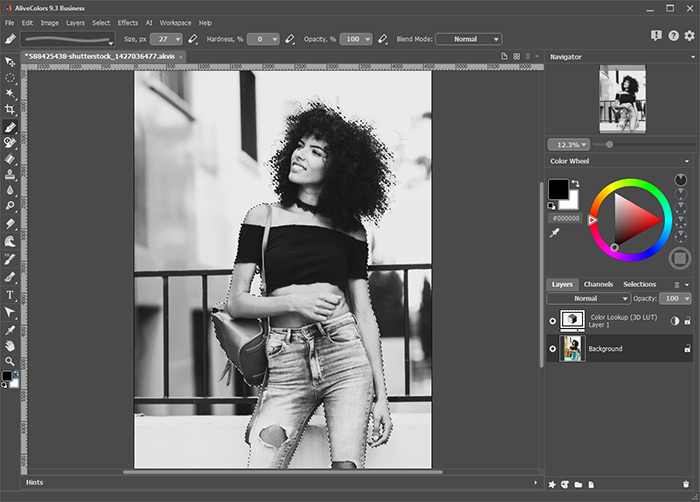
Select the girl in the photo using the AI-based Select Subject tool (in the Select menu).
Note: The Select Subject command is helpful when there is only one noticeable object in a photo. If there are several objects in a photo, and you only need to select one, it is better to use the AI-based Object Selection tool  .
.
 Selection
Switch back to the Color Lookup (3D LUT) adjustment layer. Right-click the layer in the Layers panel to open the context menu and select the Hide Selection command.
 Background Separation
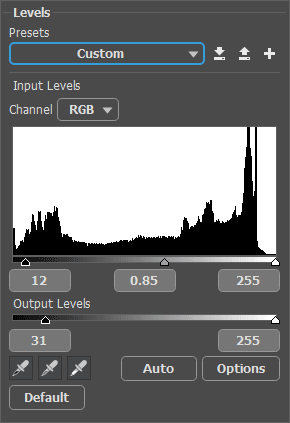
Adjust the contrast for the girl with the Levels adjustment layer. For this example, the following settings were set:
 Levels Adjustment Layer
Add a mask for the Levels layer. Switch to the Selection panel and choose the previously created selection (or use the Ctrl+Shift+D keys). In the layer context menu, select the Reveal Selection command.
The result is a stylishly processed photo with a great impact.
 Partial Desaturation
