Activate the FX Brush tool  and choose the Thread Brush from the drop-down list.
The Thread Brush creates strokes consisting of multiple thin interwoven lines and allows you to achieve a wide variety of decorative effects. It's useful when creating abstract backgrounds and eye-catching textures, scribble and doodle effects.
Choose the brush color in the Color, Swatches, or Color Wheel panel, or from the image with the Eyedropper tool. To pick a color sample, press and hold the I key and then click the image with the Eyedropper tool. After the hotkey is released, the painting tool becomes active again.
The basic tool settings are shown in the Tool Options panel above the Image Window or by right-clicking on the image. To display the full list of parameters, press the tool icon in the Tool Options panel or use the F5 key. To specify the parameter settings, enter a numerical value in the parameter’s field or use the slider.
Size (5-200). The size of the base element of the brush (in pixels).
Line Width (1-100). The parameter defines the thickness of lines in a brush stroke. At low values, the lines are thinner and harder, increasing the value makes them wider and softer.
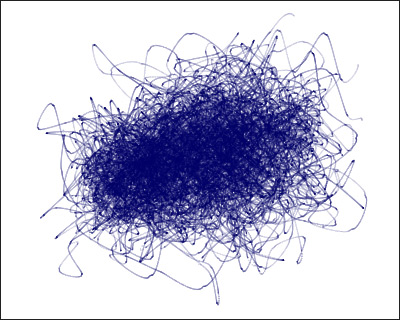 Line Width = 25
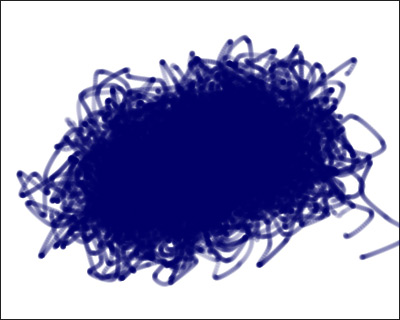 Line Width = 75
Density (1-100). The parameter sets the number of lines in a brush stroke.
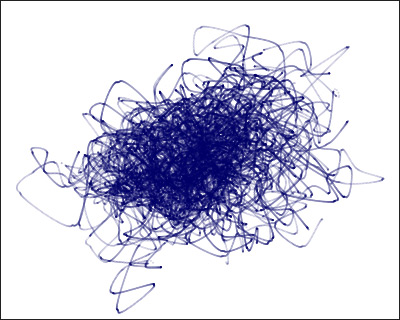 Density = 5
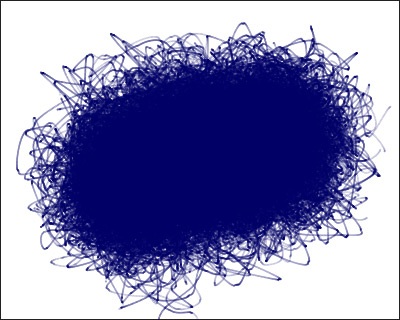 Density = 50
Strength (10-50). The parameter defines the stroke brightness. At low values, the lines are more transparent, increasing the value makes them brighter and denser.
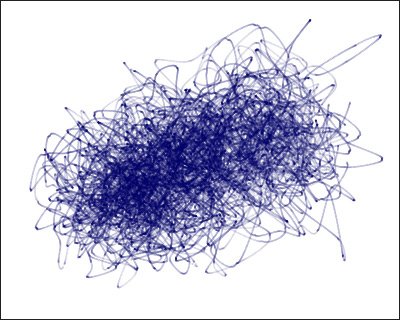 Strength = 10
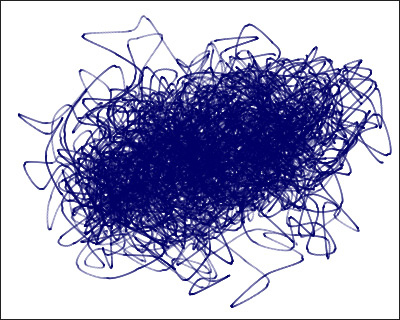 Strength = 30
Spread (0-100). The parameter sets the distribution of the lines. At low values, the lines are located closer to the center of the cursor, increasing the value makes the expansion stronger.
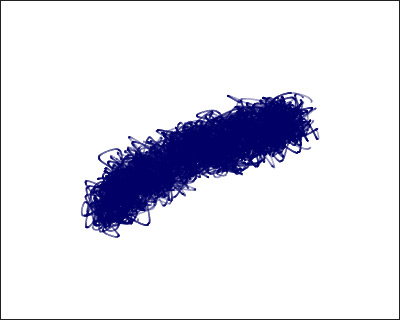 Spread = 30
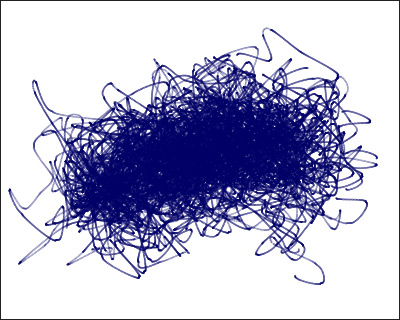 Spread = 80
Curvature (10-100). The parameter adjusts the shivering and woolliness of the stroke. At low values, the lines are located denser and closer to the center, along the main stroke. Increasing the value makes them more curved and deviated from the main direction.
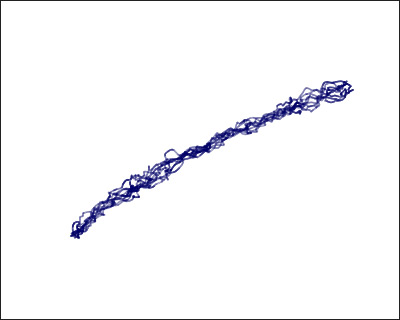 Curvature = 25
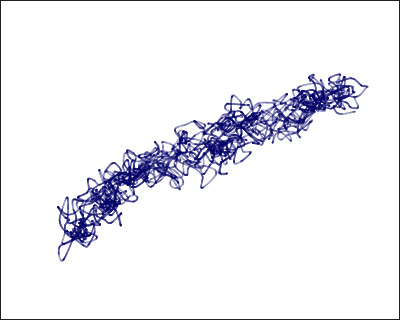 Curvature = 75
Click Default to reset all settings to their default values.
