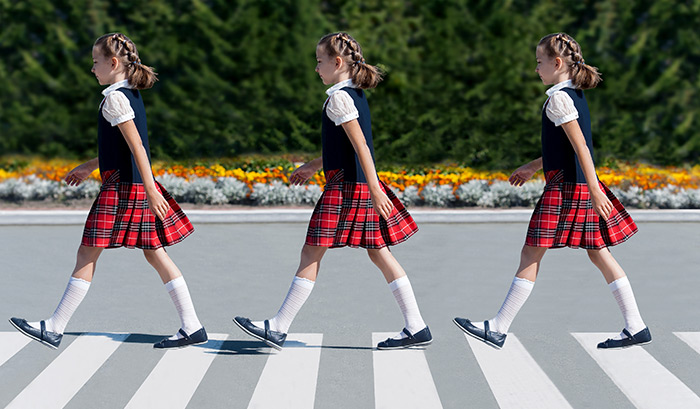
The Clone Stamp tool  is designed for copying areas of an image while maintaining the original color range, shadows, texture, illumination, and other characteristics of the cloned part. Cloning can be done within one layer, between different layers, or between loaded images.
To clone an object, first select the area to be cloned: do this by first holding down Alt on Windows (Option on Mac), and then clicking on the area from which the clone will be taken.
Once the reference point is defined, place the cursor over the area you wish to place the clone. Left-click to apply the clone. When you left-click a cross-shapped cursor will appear over the source image, identifying the original fragment.
Note: The sample can be selected from any type of layers, but copied only to a raster layer.
Attention! On Linux, by default, the system intercepts Alt+click to move a window with the mouse. For the Clone Stamp tool, you can use Alt+Ctrl or change the system settings and set a different keyboard shortcut for moving the window.

The basic tool settings are shown in the Tool Options panel above the Image Window or by right-clicking on the image. To display the full list of parameters, press the tool icon in the Tool Options panel or use the F5 key. To specify the parameter settings, enter a numerical value in the parameter’s field or use the slider.
Element - in the drop-down list, select the type of the basic element of the brush: Ellipse or Select Shape.
Size (1-5000). The maximum diameter of the source used for cloning (in pixels).
Hardness (0-100). The degree of blurriness of the fragment's edges. At higher values of this parameter, the less the fragment's border interacts with the background. At values near 100% the border between the fragment and the image is very distinct; at lower values the border between these areas will be smoother.
 Hardness = 10
 Hardness = 100
Opacity (1-100). The opacity of the fragment in relation to the background. This parameter affects the opacity of the fragment where it is stamped: at lower values, the fragment is paler and its interaction with the background is greater.
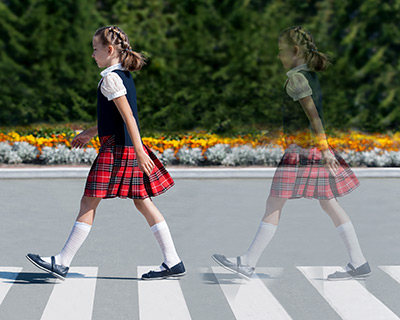 Opacity = 40
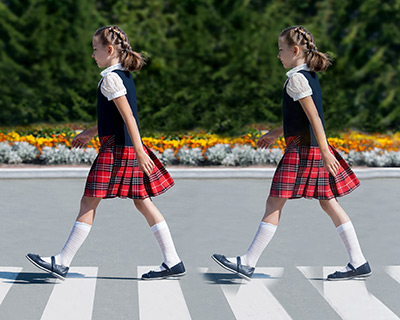 Opacity = 90
Fill (1-100). The opacity of the clone in a single brush stroke. When applying strokes to each other, the opacity of the clone increases.
 Fill = 40
 Fill = 90
Blend Mode. It defines how the cloned fragment blends with the background. The program provides 27 blend modes.
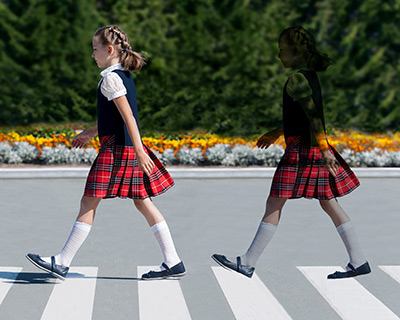 Multiply Mode
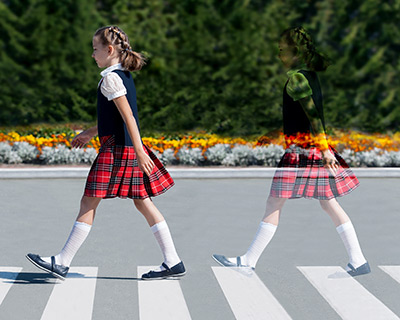 Overlay Mode
Aligned check-box. This option sets how the fragment is cloned. When the check-box is activated, a single clone will be created using information from around the selected source: in this case each time the left mouse button is pressed a clone will be selected from the relevant area. When the check-box is not activated, each time the mouse button is released the cursor returns to the source area, and new clone fragments are created from this same area.
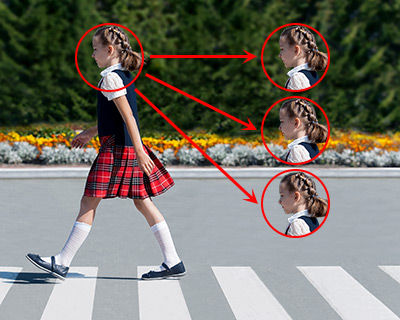 Aligned check-box is disabled
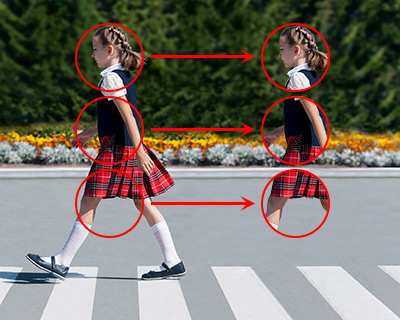 Aligned check-box is enabled
Sample. Set a source for the sample:
Current Layer - active layer data,
Current & Below - data from the active and all visible underlying layers,
All Layers - data from all visible layers.
Clone Source settings  . The changes are applied when the settings menu is closed: by pressing the Enter key or by clicking anywhere in the program window.
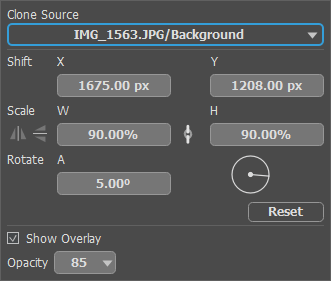 Clone Source Settings
You can set up to five different patterns in the drop-down list and switch between them. The selected samples are stored in the list as "document name/layer name" until the source (document or layer) is closed. To add a new sample, select an "empty" list item, switch to the image and, holding down the Alt key, set a new source point. If, when adding a new clone point from an image, an existing sample is selected in the list, it will be overwritten.
Transformation of the cloned area. For each sample in the list there are separate transformation settings:
Shift. In the X and Y fields, you can specify the coordinates of the starting point for copying the sample. The values will be set automatically when selecting the source point with the Alt key pressed.
Scale. The size of the clone relative to the original fragment. In the W and H fields, you can set new scale values. To maintain the clone's proportions, close the link icon  .
.
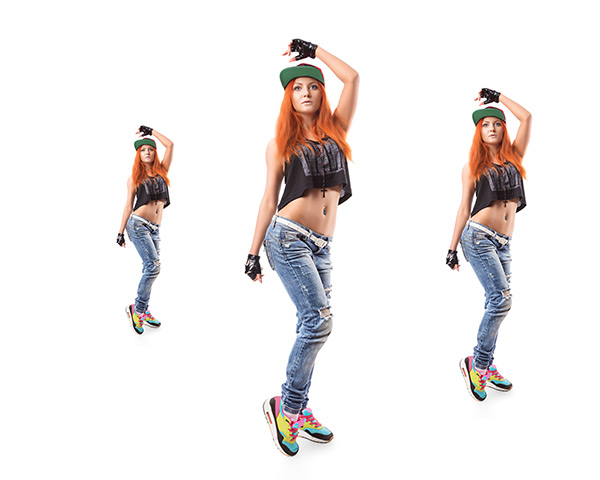 Clone Scaling (Left to Right: 50%, 100%, 75%)
Flip Horizontal  . The command allows a clone to be mirrored along the standing axis, i.e. interchanging the left and right sides.
Flip Vertical  . The command mirrors a clone by turning it upside down.
 Original Image
 Regular Clon
 Flip Horizontal
 Flip Vertical
Rotate. Rotation of the cloned area.
Reset. Press the button to return the transformation settings to the original ones.
Sample Preview:
Show Overlay. When the check-box is enabled, the copied area of the image will be displayed inside the cursor.
Opacity. The parameter allows you to change the transparency of the sample inside the cursor.
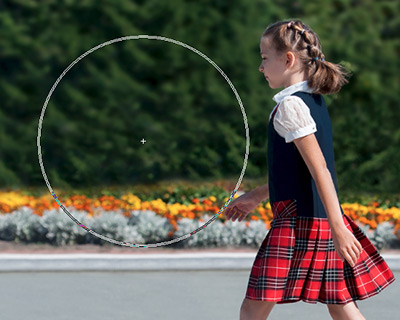 Check-Box is Disabled
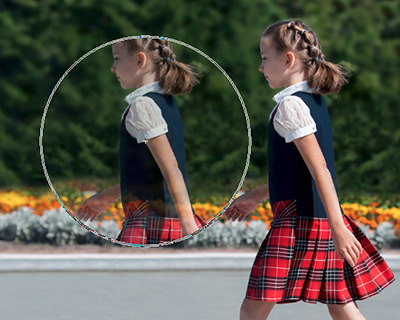 Check-Box is Enabled
Beside the above-listed settings, some additional parameters are available for this tool.
Press the Default button to set all settings to their default values.
To draw a straight line, first specify the starting point with the left mouse button, then, while keeping Shift pressed, move the cursor to the desired end point of the line and release Shift. If Shift is not released, a new line will be drawn to each point where the mouse is clicked.
