Shape Tools are designed to create and edit vector shapes. Shapes are created on a special shape layer ![]() .
.
New Shape ![]() . The tool allows you to create a vector shape by dragging the cursor while holding down the left mouse button.
. The tool allows you to create a vector shape by dragging the cursor while holding down the left mouse button.
You can select a Shape Type from the drop-down list in the Tool Options panel:
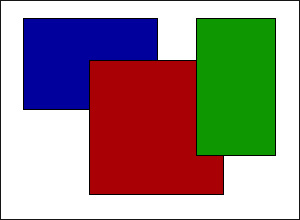
Rectangle. The tool creates a rectangle of arbitrary size.
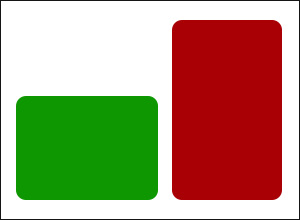
Rounded Rectangle. The tool creates a rectangle with rounded corners.
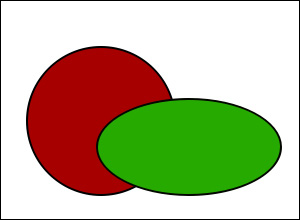
Ellipse. The tool creates oval shapes.
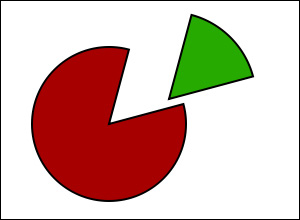
Pie. The tool creates a partial ellipse bounded by the circular arc and two radius.
Hint: To create a perfect circle or square, hold down the Shift key when drawing a shape.
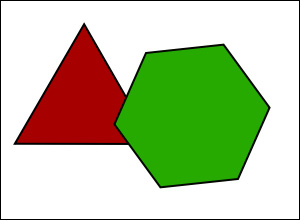
Polygon. The tool creates a regular polygon with the specified number of sides.
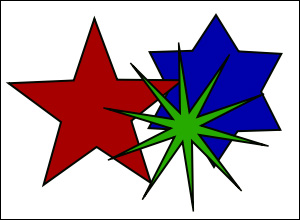
Star. The tool creates star with the specified number of rays.
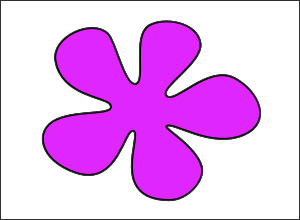
Freeform. The tool allows you to create a variety of shapes by adding anchor points with a mouse click.
To cancel the addition of a new anchor point, press Backspace. To delete an incomplete shape, press the Esc key.
To complete the creation of a shape, connect the start and end points of the curve. To create an open-curve shape, click the Apply button. To close the curve, click Close Shape.
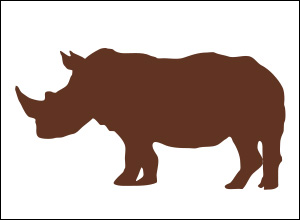
Freehand. The tool draws lines that follow the movement of your pointer. When you release the mouse button, the line turns into a curve repeating the line drawn.
Connect the start and end points to create a closed curve. If they are not connected, the shape will be displayed as an open curve.
The tool settings are displayed in the Tool Options panel above the Image Window or by clicking the tool icon in the Tool Options.
Parameters (may vary for different shape types):
Modes - logic operations that determine the outcome of the interaction between the created shapes.
New Shape  . Each new shape is created on a separate layer.
Add To Shape Area  . The new shape is added to the existing ones.
Subtract From Shape Area  . The new shape is excluded from the existing one.
Intersect Shape Areas  . The option keeps only the overlapping area of the shapes.
Note: In Add, Subtract and Intersect modes, the shapes are created on the same layer.
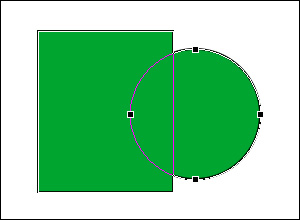 Add To Shape Area
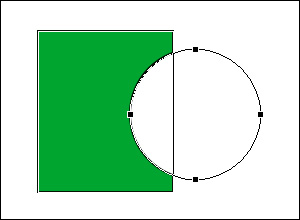 Subtract From Shape Area
The From Center check-box defines a way to create a shape. If the check-box is enabled, the shape is drawn by dragging outward from the central point. If the check-box is disabled, the shape is drawn by dragging diagonally from one corner to another.
Note: The Polygon and Star shapes are always created from the center.
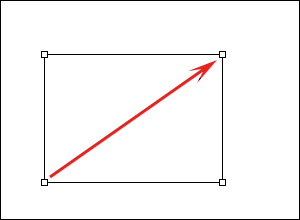 From the corner
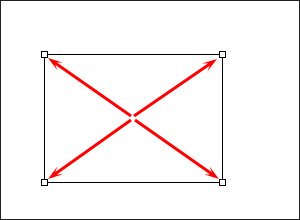 From the center
Constrain Proportions check-box. Enable the check-box to create perfect squares and circles.
Radius (0-100). The parameter sets the corner radius of the rounded rectangle.
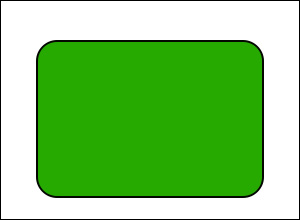 Radius = 20
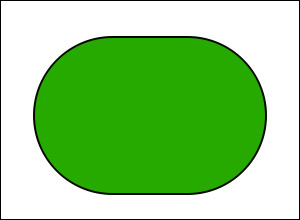 Radius = 100
Start Angle (0-360). The parameter sets the starting position for drawing the sector.
End Angle (0-360). The parameter defines the end angle of the sector.
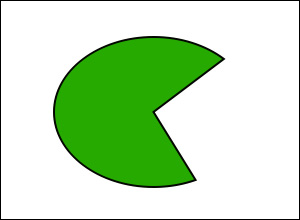 Start Angle = 45,
End Angle = 295
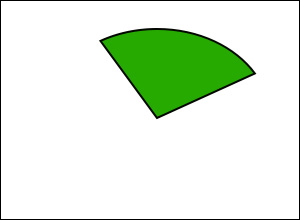 Start Angle = 30,
End Angle = 120
Corners (3-100). The parameter specifies the number of corners of a polygon or a the number of beams of a star.
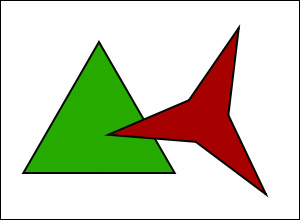 Corners = 3
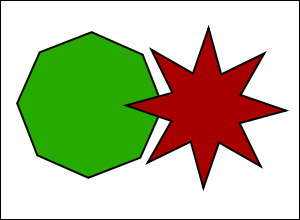 Corners = 8
Indent (1-100). Specifies the depth of the star’s indentations. The higher the value, the longer, sharper, and thinner the star beams.
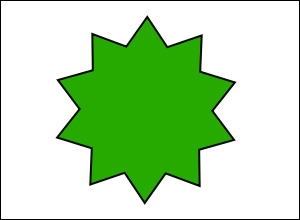 Indent = 25
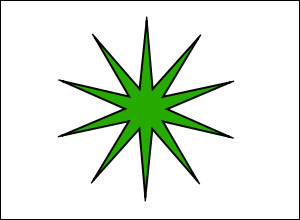 Indent = 75
Smoothing (0-200). The parameter controls the degree of smoothing of the line drawn by hand. When increasing the parameter, the number of anchor points decreases, and the lines become smoother.
 Smoothing = 10
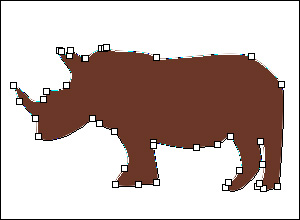 Smoothing = 100
Click on  in the Tool Options panel to show the dialog box with Fill Shape and Stroke tabs.
Use the Fill Shape tab to customize the color of the selected shape.
Use the Stroke tab to add a stroke to the selected shape and edit it.
Immediately after the creation of the shape you can adjust its position on the layer using the X and Y parameters. When you change the X parameter, the shape is moved horizontally. When you change the Y parameter, the shape is moved vertically.
Use the Width and Height parameters to adjust the size and aspect ratio of a Rectangle/Rounded Rectangle/Ellipse/Pie.
Use the Rotation and Radius parameters to adjust the angle and increase the size of a Polygon/Star.
Note: These parameters become unavailable after selecting another tool or clicking in the Image Window.
Use the Edit Shape tool ![]() to change the shape and its position.
to change the shape and its position.
