The Smudge tool ![]() mixes colors by displacing pixels, like a finger passing through wet paint.
mixes colors by displacing pixels, like a finger passing through wet paint.
The basic tool settings are shown in the Tool Options panel above the Image Window or by right-clicking on the image. To display the full list of parameters, press the tool icon in the Tool Options panel or use the F5 key. To specify the parameter settings, enter a numerical value in the parameter’s field or use the slider.
Element - in the drop-down list, select the type of the basic element of the brush: Ellipse or Select Shape.
Size (1-500). Width of the Smudge Tool.
Hardness (0-100). The amount of blurriness of the outer edge. The higher the value, the harder the brush edge is.
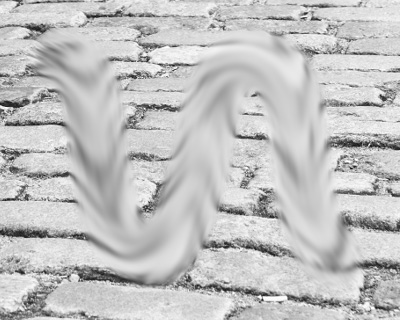 Hardness = 10
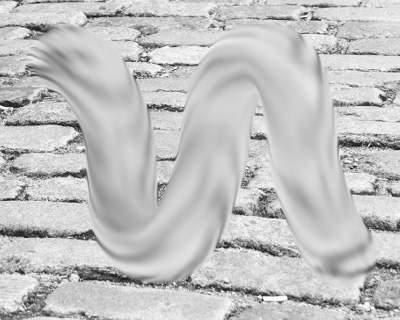 Hardness = 90
Strength (1-100). The lengthiness of a stroke’s colors. The higher the value of this parameter, the more the element is smeared.
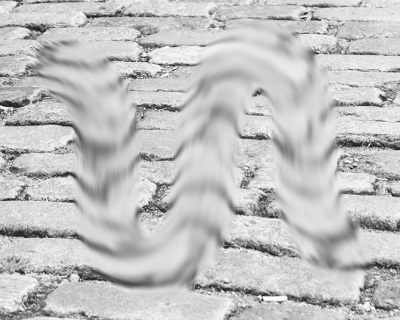 Strength = 30
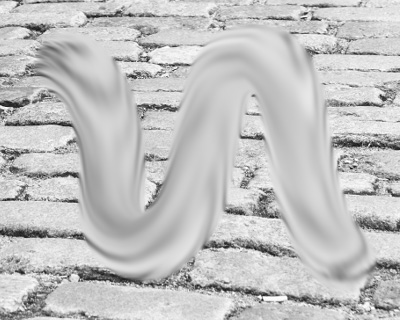 Strength = 65
Use Color (0-100). Intensity of primary colors at the beginning of each stroke. The higher the value, the brighter the color at the beginning of the stroke. If this parameter is set to zero the stroke will be applied in the normal way (without using the primary color).
The primary color can be selected in the Color/Swatches panels. To select a color, move the cursor to the spectral strip (the cursor will take the form of a pipette) and click the desired color, or choose a color from the standard Select Color dialog box. In some cases it is more convenient to change colors manually, by adjusting the sliders.
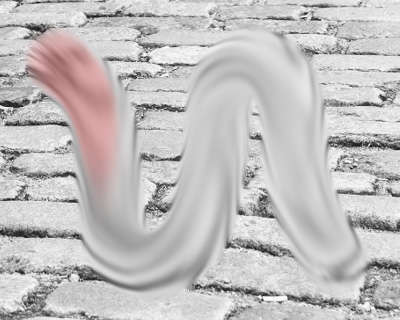 Use Color = 20
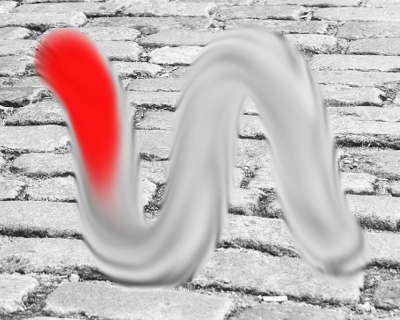 Use Color = 90
In addition to the above-mentioned parameters, you can adjust the advanced settings.
Press the Default button to set all settings to their default values.
To spread color along a straight line, first select a starting point by clicking the left mouse button and while holding Shift, move the cursor to the desired endpoint and release Shift. If Shift is not released, then new lines will be drawn to each point where the mouse is clicked.
